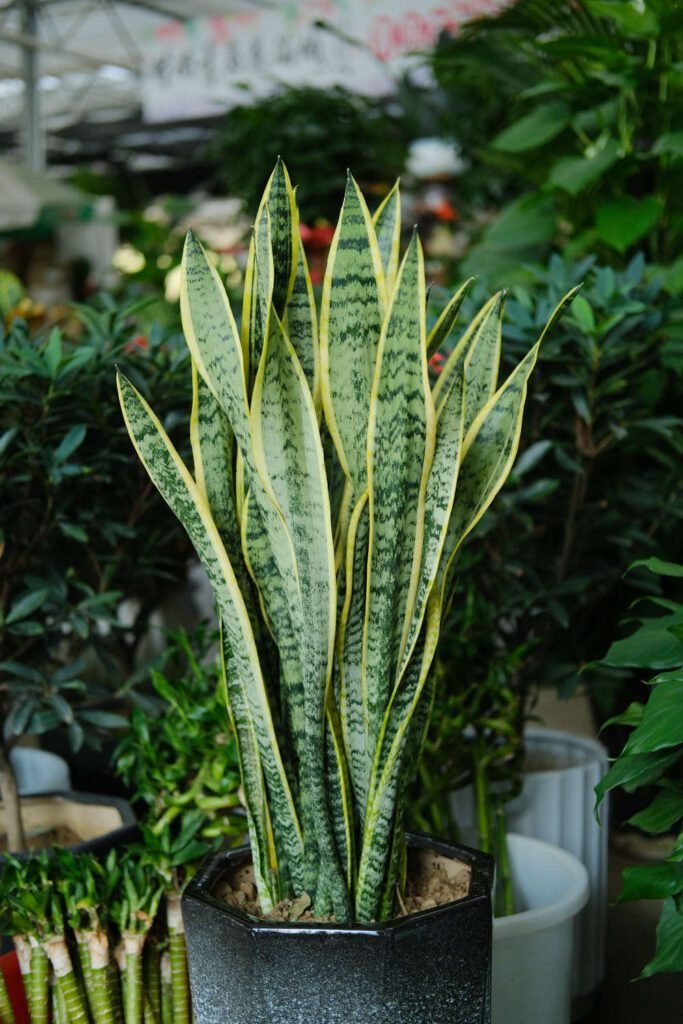
The snake plant (Sansevieria trifasciata), sometimes referred to as mother-in-law’s tongue, is a favorite houseplant among beginners and experienced gardeners alike because of its durability, minimal maintenance, and air-purifying properties. Beyond these appealing traits, snake plants are also incredibly easy to propagate, particularly from leaf cuttings. Propagating snake plants from leaf sections is an inexpensive and simple way to multiply your collection or share plants with friends. This guide will provide a detailed, step-by-step tutorial to successfully propagate snake plants from leaf sections, outline the essential tools you require, optimal care conditions, and expected timelines for successful rooting.
Benefits of Propagating Snake Plants from Leaf Sections
Before starting, it’s beneficial to understand why propagating snake plants using leaf cuttings is advantageous compared to other propagation techniques:
- Cost-effective: Requires no special equipment or expenses beyond basic gardening materials.
- Simple method: Suitable method for beginners, requiring no specialized skills or prior experience.
- High success rate: When the conditions are optimal, leaf propagation success typically ranges between 80–90%.
- More plants from one leaf: A single healthy snake plant leaf can produce multiple new plants, maximizing your propagation efficiency.
Tools and Materials You’ll Need
Here is a concise checklist of all the equipment and materials you’ll need before starting your leaf propagation:
- A sharp, sterile gardening knife or shears
- A healthy snake plant leaf from a mature mother plant
- Fresh, fast-draining propagation medium (ideal: mixture of half cactus/succulent mix and half perlite)
- Clean containers or pots with drainage holes (approximately 4–6 inches diameter)
- Rooting hormone powder (optional, but recommended)
- Spray bottle to maintain humidity
- Clean gloves to maintain hygiene while handling plants (optional)
Step-by-Step Guide to Propagating Snake Plants from Leaf Sections
Step 1: Selecting and Preparing the Leaf
Begin by choosing a healthy, mature leaf from a robust mother plant. Inspect the leaf meticulously and ensure it has no signs of disease, discoloration, or damage. Older, fully-developed leaves towards the outside of the plant are typically preferable for propagation because of their vigor and nutrient stores. Using a clean, sharp knife or gardening shears cuts down infection risks. Cut the leaf at the base, near the soil line.
Step 2: Cutting the Leaf into Sections
On a sterilized, clean surface, divide the snake plant leaf into sections approximately 2–4 inches (5–10 centimeters) long. Be mindful of maintaining the same orientation regarding top and bottom ends of each piece—it is crucial to keep track of this because only the “bottom” end of each section will root. It’s beneficial to make a small, angled cut or small nick at the bottom of each segment to easily remember which side goes into the soil.
Step 3: Allowing Leaf Sections to Callus
Place your freshly cut leaf sections aside in a cool, dry location out of direct sunlight for approximately 2–5 days. This timeframe allows the cut ends to callus over, significantly reducing the risk of fungal infections and rot when placed in moist media. Avoid placing leaf sections in a humid or damp environment at this stage.
Step 4: Preparing the Growing Containers
Choose appropriate propagation containers—ideally pots with drainage holes about 4–6 inches in diameter. Fill pots with a lightweight and fast-draining propagation medium. A recommended mix is half cactus/succulent potting soil and half perlite or coarse sand. This mixture facilitates optimal drainage, air circulation around the roots, and significantly reduces the risk of root rot.
Step 5: Planting Leaf Sections in Soil
Dip the calloused bottom ends of each leaf section in rooting hormone powder (optional but recommended for quicker rooting and higher success rate). Gently insert each leaf section vertically into the soil, pushing them down about 1–2 inches (2.5–5 centimeters) below the soil’s surface. Ensure about half of each leaf cutting is below the soil’s surface, providing stability and sufficient contact area for rooting.
Step 6: Caring for Planted Leaf Sections
- Watering: Immediately after planting, lightly mist the soil surface to provide moisture without saturating it. Do not water heavily, as excessive moisture can lead to rot. Continue to water sparingly about once every 10–14 days, adjusting if the environment is very warm or excessively dry.
- Humidity: Snake plant cuttings do not require high humidity to root successfully. Normal indoor humidity between 40–60% is adequate. However, if indoor air is particularly dry, occasional gentle misting may help maintain proper moisture levels.
- Temperature: Optimal rooting temperature is consistently around 65–80°F (18–27°C). Avoid placing containers near heating/cooling vents or windows with temperature swings.
- Light Conditions: Provide indirect, bright light—around 10,000–15,000 lux, ideal with bright, filtered sunlight from Eastern or Northern-facing windows. Avoid intense direct sunlight, which can stress and burn leaf cuttings.
Step 7: Monitoring Root Growth and Planting New Shoots
Typically, leaf cuttings start rooting within 4–8 weeks, depending significantly on environmental conditions, ambient temperature, and individual plant health. After successful rooting, the new leafy shoots can emerge from the soil approximately 8–12 weeks after propagation. Until this stage, patience is key—do not disturb or continually uproot cuttings to check for roots, which risks damage.
Troubleshooting Common Problems
- Leaf Rotting: Typically caused by overly damp soil or excessively humid conditions. Allow proper drying between waterings and ensure soil mixture is well-draining.
- No Root Development after 8 weeks: Possibly due to low temperatures or insufficient indirect bright light. Move pots to warmer conditions (around 70–80°F or 21–27°C) and increase indirect lighting levels.
- Discoloration and Yellowing Leaves: Linked to overwatering, insufficient drainage, or excessively bright direct sunlight. Adjust watering frequency and relocate leaf cuttings to an area with softer indirect light.
Conclusion
Propagating snake plants from leaf cuttings is cost-effective, straightforward, and enjoyable—it requires only a few inexpensive tools and some careful initial steps in cutting and preparing leaves. Within approximately 8–12 weeks under optimal conditions, you can enjoy multiple healthy new plants from just one leaf. This propagation technique is particularly beneficial for beginner indoor gardeners, houseplant enthusiasts, or anyone looking to extend their collection affordably and effectively. By following the precise steps outlined in this detailed guide, novice gardeners and experienced indoor plant collectors alike will successfully propagate and expand their snake plant collection with confidence and ease.
APA References
- Hessayon, D. G. (2007). The Houseplant Expert: The World’s Best-Selling Book on Houseplants. Transworld Publishers.
- Alderton, D. (2019). Propagating Plants: How to Create New Plants for Free. DK Publishing.
- Dengarden. (2022). How to Propagate Snake Plants (Sansevieria): Easy Guide. Retrieved from https://dengarden.com/gardening/How-to-Propagate-Snake-Plants
