Introduction: Why Growing Plants from Seeds Indoors Is Beneficial
Growing plants from seeds indoors provides a rewarding opportunity for gardeners to experience the full life cycle of their plants, starting from the simplest seeds to mature growth. Whether you’re aiming for vegetables, herbs, or ornamental plants, nurturing seeds indoors gives you greater control over growing conditions, allows you to start your gardening earlier in the year, and often leads to stronger and healthier seedlings. However, this process can be intimidating, especially for beginners. This detailed step-by-step guide will help you successfully grow healthy plants from seeds indoors by covering all crucial aspects—from selecting the right seeds and equipment to managing optimal nurturing conditions including light, water, humidity, and temperature control.
Tools and Materials You’ll Need
- High-quality seeds (not older than 1–2 years for best germination rates)
- Seed-starting trays or biodegradable peat or coco pots (cells 2–4 inches deep)
- Seed-starting mix (sterile, fine-grained soil mixture)
- Misting spray bottle (for gentle watering)
- Humidity dome or clear plastic cover
- Grow lights (LED or fluorescent fixtures providing between 10,000–15,000 lux continuously for 12–16 hours per day)
- Heating mat (maintains optimal germination temperature range of 65–80°F or 18–27°C)
- Plant labels and waterproof markers
- A thermometer and hygrometer for monitoring temperature and humidity levels
- Measuring cups or spoons, watering trays, and gardening gloves
Step-by-Step Guide for Growing Plants Indoors from Seeds
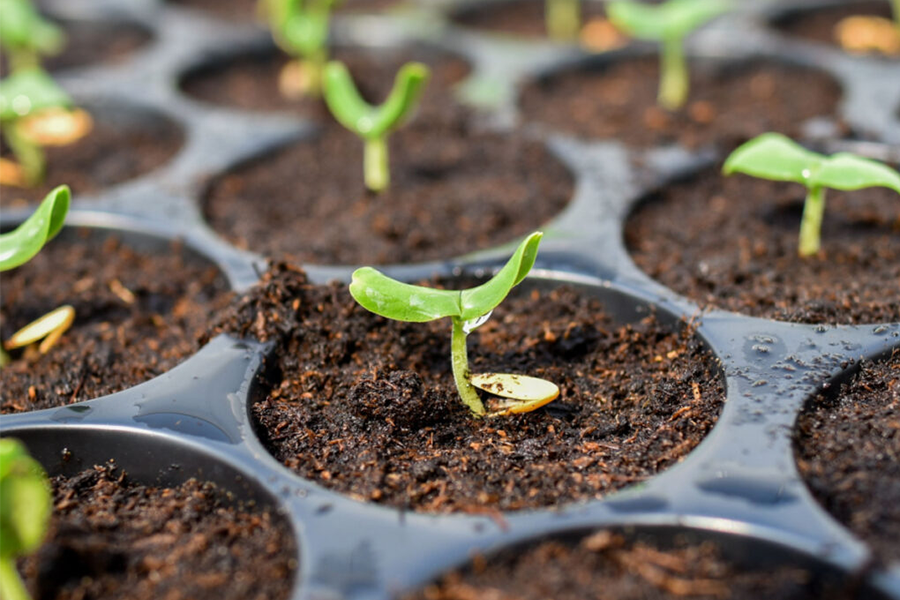
Step 1: Choose and Prepare your Seeds
Select fresh, high-quality seeds that are appropriate for indoor propagation. Always check the seed packet for specific guidelines on depth, spacing, and germination requirements. For improved germination rates, some seeds can benefit from soaking overnight (12–24 hours) in warm water before planting.
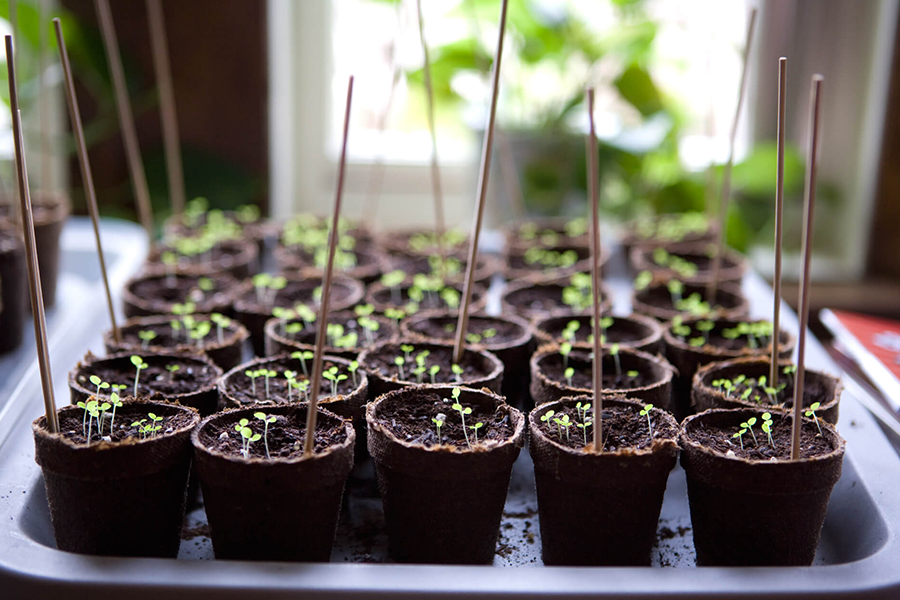
Step 2: Prepare the Seed-Starting Mix and Containers
Choose a sterile, well-draining seed-starting mix designed specifically for germination. Moisten the soil evenly before placing it into containers—each cell or pot should be filled and slightly compacted to leave approximately ¼-inch of space from the top rim.
Step 3: Plant Seeds Correctly and Clearly Label Them
Insert seeds at a depth recommended on the seed packet (typically 1½–2 times the diameter of the seed). Cover lightly with soil mix and press gently. Label each container right away using plant labels marked clearly, specifying plant name, variety, and planting date.
Step 4: Provide Proper Watering and Humidity Control
Initial watering should be gentle but thorough, using a spray-bottle mist to prevent seed displacement. Keep seeds consistently moist but not waterlogged. Cover trays or pots with humidity domes or loosely with plastic wrap to maintain humidity levels between 60–80%, crucial for germination, usually achieved within 7–21 days depending on the species.
Step 5: Ensure Optimal Temperatures for Germination
Seeds require hovering temperatures between 65–80°F (18–27°C) for optimum germination rates. A heating mat under seed trays can reliably ensure soil temperature remains consistently within this range. Check temperatures often by using soil thermometer probes, adjusting heat mats accordingly.
Step 6: Control Lighting Conditions Properly
Seeds generally do not require significant light until germination occurs. However, immediately upon seedling emergence, plants must receive adequate daily light. Provide artificial grow lights with an intensity range between 10,000–15,000 lux evenly distributed, promoting strong stems and healthy leaf development. Position lights no more than 3–4 inches above seedlings to prevent legginess. Keep the lights on for 12–16 hours per day, ensuring a regular schedule with automatic timers if possible.
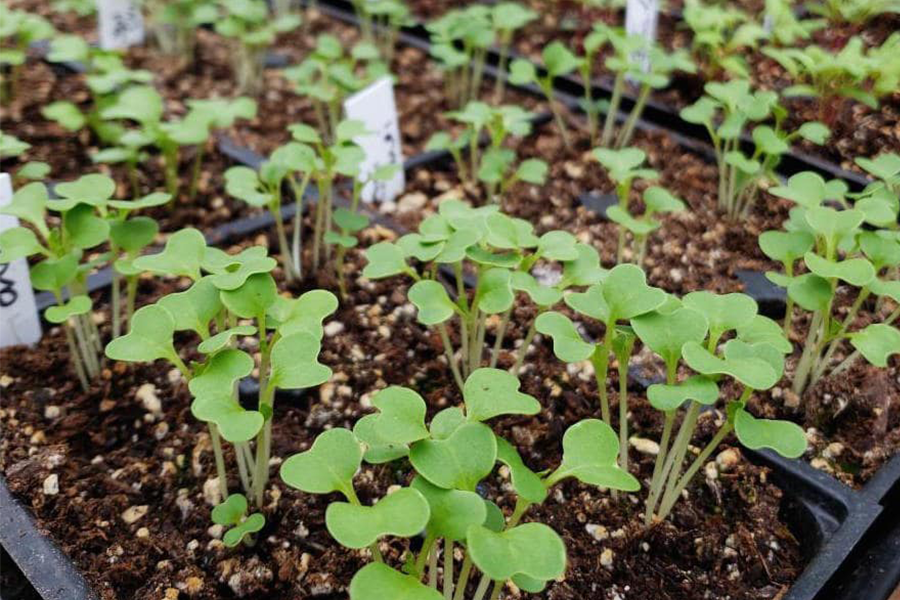
Step 7: Transferring Seedlings to Larger Containers (Potting Up)
When seedlings develop their first true leaves (usually within 2–4 weeks after germination), transplant each seedling carefully into individual pots measuring 4–6 inches wide, filled with nutrient-rich potting mix that supports further growth. Water gently to encourage establishment.
Step 8: Maintain Adequate Nutrient Supply
After seedlings have produced their first true leaves, apply mild, balanced, water-soluble fertilizers (such as a diluted 10-10-10 solution) every two weeks to encourage strong development. Always follow fertilizer manufacturer’s recommended dilution rates strictly to avoid root damage.
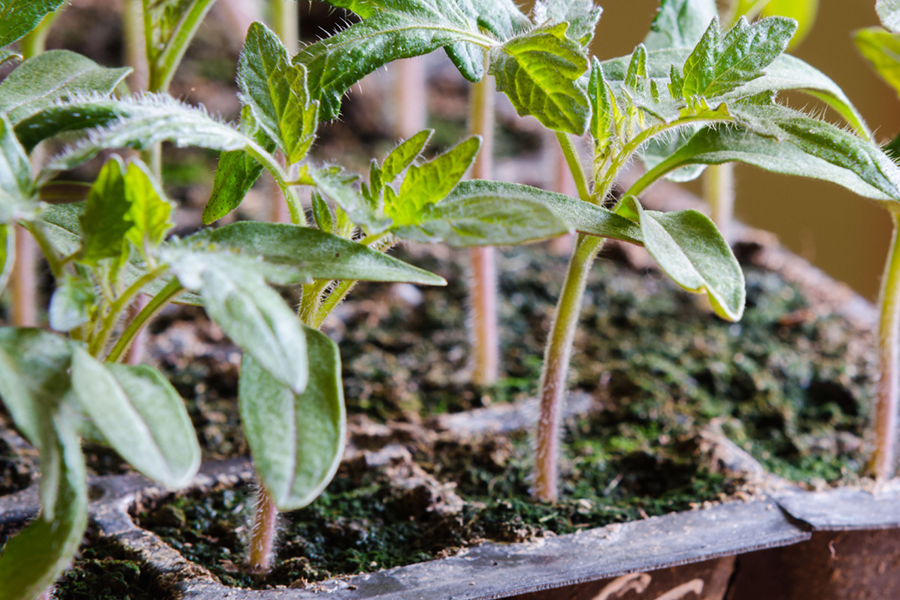
Step 9: Harden Off Before Outdoor Planting (For Outdoor-bound Plants)
If intending to transplant seedlings outside eventually, introduce your plants to outdoor conditions gradually. Start 7–14 days before final outdoor planting by placing seedlings in shade or indirect light for 2–3 hours per day, slowly increasing outdoor exposure daily until seedlings can comfortably handle full outdoor exposure. Ideally, outdoor temperatures at planting should consistently range between 55–75°F (13–24°C), depending on plant preference.
Care Conditions to Monitor for Healthy Indoor Growth
Lighting
- Provide bright fluorescent or LED lighting at 10,000–15,000 lux for a minimum of 12–16 hours daily for best results.
- Adjust light positioning periodically to ensure even plant growth and avoid foliage scorching.
Watering and Humidity
- Keep seedling soil evenly moist—not saturated—by watering with gentle methods such as spraying or bottom-watering.
- Maintain indoor relative humidity range suitable to most seedlings around 60–80% using humidity domes or gentle ventilation.
Temperature
- Maintain daytime indoor temperatures consistently at 65–75°F (18–24°C). Nighttime temperatures should not drop below 55°F (13°C).
- Using heating mats during germination ensures consistent soil warmth (optimizing root development).
Air Circulation and Ventilation
- Gentle air movement helps strengthen seedlings. Use low-powered fan or careful ventilation for 2–4 hours daily once plants mature slightly (after 2–3 weeks).
- Good ventilation reduces disease risks associated with damping-off, fungi, and other pathogens.
Common Mistakes to Avoid
- Overwatering or underwatering seedlings; this injures tender roots and impedes growth.
- Insufficient or overly intense light causing weak, elongated, and fragile seedlings susceptible to injury and disease.
- Neglecting the hardening-off process, resulting in transplant shock and reduced survival rates outdoors.
- Ignoring temperature regulation, reducing seed germination success, and delaying seedling growth.
Conclusion
Successfully growing plants indoors from seeds requires commitment to correct practices, strong observation skills, and maintaining optimal plant-care conditions. Beginners and enthusiastic home gardeners can easily manage these steps by carefully organizing their indoor gardening space and regularly monitoring plant health. By patiently attending to seedling needs with stable temperature, humidity, precise watering, and adequate lighting, gardeners improve their odds considerably. Those who desire greater control over seedling vitality and variety choices especially benefit from indoor seed-starting practices detailed here.
References
- Hartmann, H.T., Kester, D.E., Davies, F.T., & Geneve, R.L. (2018). Hartmann & Kester’s Plant Propagation: Principles and Practices (9th ed.). Pearson.
- Bubel, N. (2010). The New Seed-Starters Handbook (Revised edition). Rodale Books.
- Christopher, T., & Asher, M. (2013). Indoor Gardening the Organic Way: How to Create a Natural and Sustaining Environment for Your Houseplants. Cool Springs Press.
