Introduction to Plant Propagation Stations
Propagation stations have quickly gained popularity among plant enthusiasts and casual gardeners alike, providing an effective and stylish method to propagate new plants from your existing indoor green spaces. A propagation station is essentially a designated spot or setup in your home specially designed to help plants grow roots in water or soil medium before transplanting them into their permanent pots or garden beds. Although propagation can appear daunting, creating a dedicated propagation station at home is both easy and rewarding, providing the right conditions conducive for successful rooting and growth.
This comprehensive step-by-step guide provides the detailed information required to create your first propagation station at home, ensuring optimal conditions and care recommendations to maintain healthy, thriving plants ready for transplanting in 2–4 weeks.
Benefits of Having a Home Propagation Station
A propagation station helps you maintain organized and controlled conditions for producing new plant cuttings. This focused environment greatly enhances your chance of rooting success and plant growth, allowing you to expand your collection or replace aging plants. The primary advantages of home-based propagation include:
- Cost-Effectiveness: Growing plants from cuttings reduces the need for constant plant shopping expenditures, as it allows infinite multiplication of your existing plants.
- Satisfaction and Education: Watching your cuttings grow and root successfully builds gardening knowledge and skills.
- Customized Selection: Propagation enables you to retain desirable plant traits such as leaf shape, variegation pattern, and plant health.
- Sustainability: Propagation decreases your ecological footprint by avoiding unnecessary production and transportation involved in commercial plant purchasing.
Tools and Supplies Needed for a Successful Propagation Station
To set up your propagation station, certain essential tools and materials are necessary. Here is a clearly defined list of required equipment:
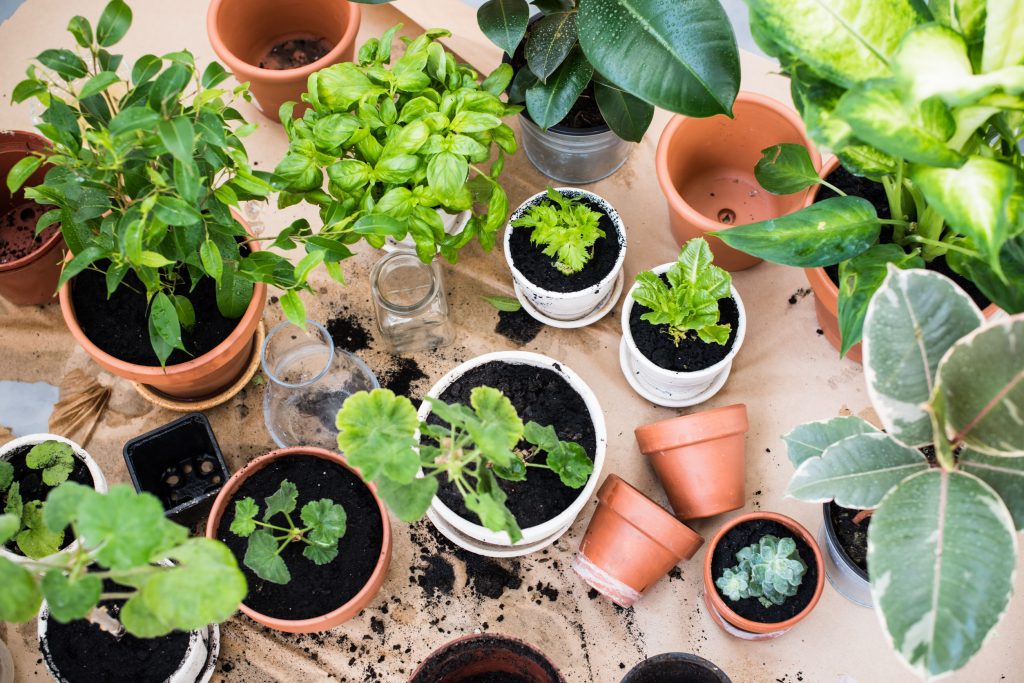
- Clear Glass or Plastic Containers: Transparent vessels (glass jars, clear vases, or test tube vessels) are ideal for water propagation, allowing close monitoring of root growth.
- Sharp, Sterilized Pruning Shears or Scissors: A clean cut helps avoid plant disease and ensures viable, healthy stem cuttings.
- Propagation Medium: You may either use distilled water, regular tap water left to sit out overnight (to reduce chlorine), or propagation-friendly soil mixes (peat moss, perlite mixture).
- Labels or Markers: Clearly labeling your propagation cuttings maintains optimal organization and tracking.
- Plant Hormones (Optional): Certain plants root more quickly and efficiently when dipped into rooting hormone powder or gel.
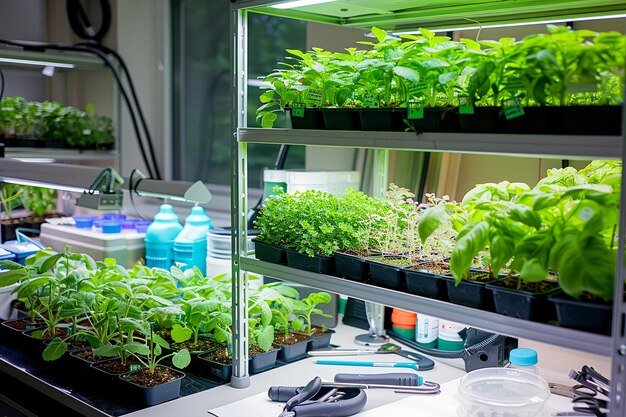
- Plant Stand or Shelf: Selecting suitable shelving or stands ensures your cuttings get appropriate lighting and temperature exposure.
- Humidity Domes (Optional): Transparent coverings maintain humidity around the cuttings—particularly useful in dry environments.
- Thermometer and Hygrometer: Monitoring the environment ensures proper humidity (between 40% and 60%) and room temperatures (averaging 18°C–26°C).
Step-by-Step Guide to Setting Up a Propagation Station at Home
Step 1: Selecting the Right Plants to Propagate
The success rate for home propagation typically begins with selecting suitable plants. Ideal beginner-friendly plants with high rooting success rates include pothos, spider plants, philodendron, monstera, ivy, snake plants, and peperomia. Avoid plants that are difficult to propagate from cuttings, such as mature woody plants, succulents that prefer leaf-cutting propagation, or plants susceptible to rot.
Step 2: Preparing Your Plant Cuttings for Propagation
- Cut Carefully: Identify a healthy, disease-free stem segment that is about 10–15 cm (roughly 4–6 inches) in length, containing at least 2–3 nodes. Nodes are joint-like structures from which new growth and roots emerge.
- Remove Lower Leaves: Carefully strip the lower leaves from the cutting, leaving only the top few leaves. Removing lower leaves avoids decomposition in the water, reducing bacterial growth and rot.
- Optional Rooting Hormone: Dip the bottom cut-end in rooting hormone powder, if applicable. Although optional, rooting hormones often help increase success rates and decrease the rooting duration significantly.
Step 3: Placing Your Cutting into the Propagation Medium
Depending on your preference, propagation can be accomplished in water or directly in soil:
- Water Propagation: Submerge about one-third of the cutting (including nodes) in clean, chlorine-free water. Ensure leaves remain above water to avoid decay.
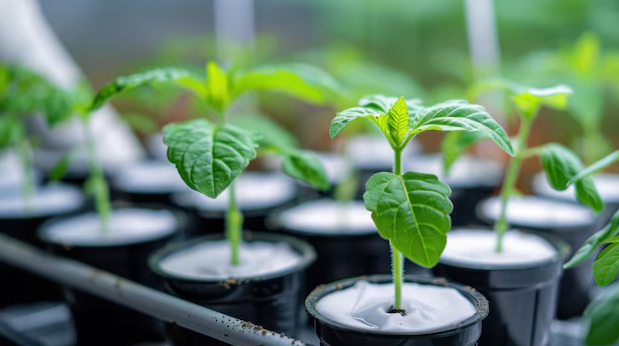
- Soil Propagation: Use propagation-friendly soil mixtures, gently place the prepared cutting (2–5 cm deep), covering nodes fully. Firm the surface slightly to support the cutting upright.
Step 4: Choosing an Ideal Location and Environmental Conditions
- Light: Indirect, bright lighting conditions (around 10,000–15,000 lux). Avoid direct sunlight, which may burn delicate new roots and leaves.
- Temperature: Maintain consistently warm temperatures between 18°C–26°C (65°F–79°F). Lower temperatures slow root formation, while excessive heat may cause plant stress.
- Humidity Level: Ideally, keep humidity between 40% and 60%; using humidity domes or trays with pebbles and water beneath propagation setups can help regulate moisture.
Step 5: Maintenance and Care for Your Propagation Station
- Checking Water Quality: Replace water in containers about once a week or more frequently if cloudy or foul-smelling.
- Monitoring Soil Moisture Levels: For soil-grown cuttings, maintain soil evenly moist but avoid excessive watering which increases fungal risks.
- Inspect Regularly: Weekly visual checks of your plants help catch early signs of rot, disease, or unfavorable conditions (yellowing leaves, browning roots).
Step 6: Transplanting Your Cuttings to Soil
With proper care and optimal conditions, rooting success typically occurs within 2–4 weeks. Healthy roots between 5–8 cm (2–3 inches) indicate readiness for transplanting. Gently transplant cuttings to their permanent pot filled with well-draining potting soil. After transplant, carefully adjust watering and lighting gradually, allowing the plant to adapt to new environments.
Common Challenges and Troubleshooting Tips
- Root Rot: Indicated by slimy, brown roots. Solution: Refresh water more frequently and ensure sanitation of tools and vessels.
- Lack of Root Development: Could be tied to insufficient node exposure, insufficient heat, or unsuitable plant choices.
- Mold or Fungal Growth: Often attributable to stagnant water or excess moisture. Solution: Improve ventilation, reduce humidity slightly, and disinfect tools regularly.
Conclusion
Establishing a home propagation station is accessible and beneficial to beginner gardeners and plant enthusiasts aiming to propagate plants effectively while enhancing plant-growing skills. Consistent maintenance and carefully regulated environmental controls ensure rooting success and healthy plant development. Home propagation stations provide an educational and rewarding experience that contributes to sustainability and personal satisfaction in indoor gardening.
References
- Hartmann, H. T., Kester, D. E., Davies, F. T., & Geneve, R. L. (2017). Hartmann & Kester’s Plant Propagation: Principles and Practices (9th ed.). Pearson Education.
- Wright, S. T., & Summers, W. M. (2016). Propagation Basics: Tools, Techniques, and Plant Recipes. Timber Press.
- DeBaggio, T. (2006). Rooting Cuttings Successfully: Complete and Practical Guidelines for Propagation by Stem and Leaf Cuttings. Timber Press.
