Understanding Dropping Leaves: What Your Plant Is Trying to Tell You
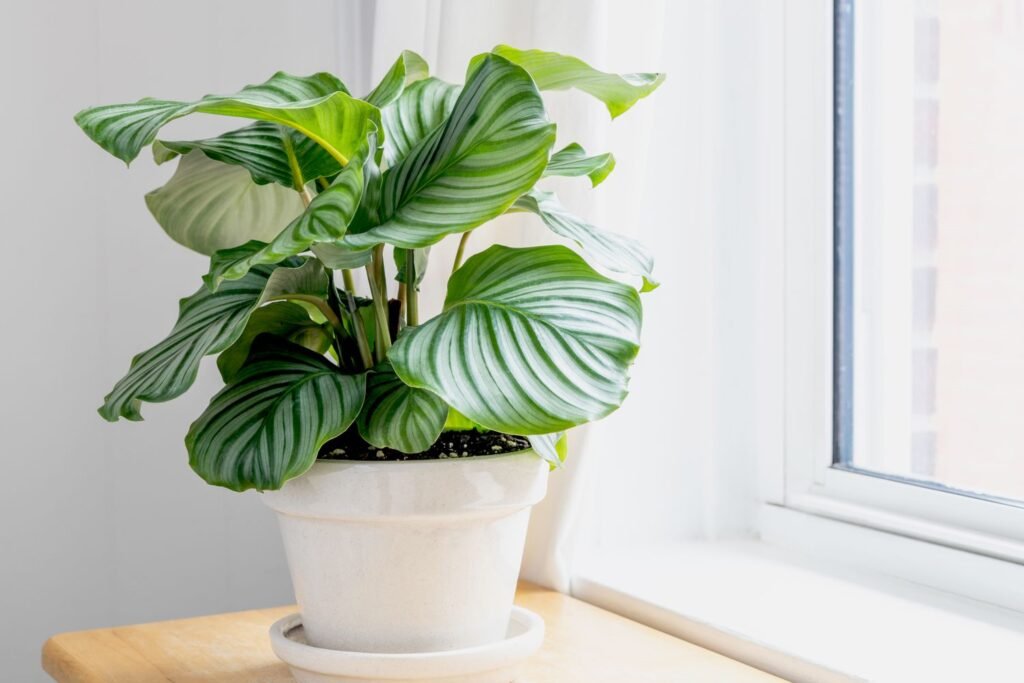
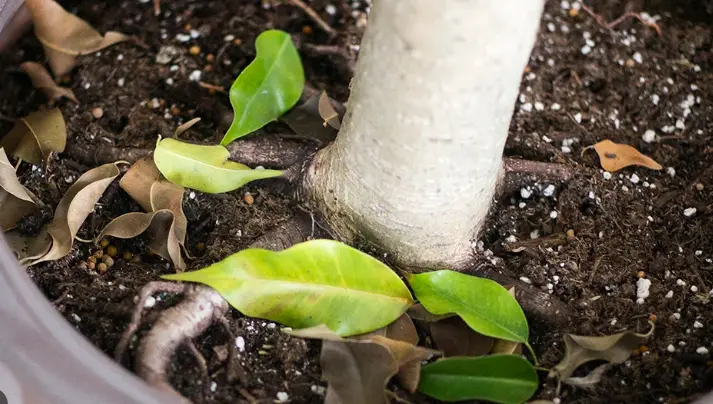
It’s a heart-wrenching moment for any plant lover: you walk into the room and notice your vibrant, healthy houseplant looking a little… sad. The leaves are drooping, sagging where they were once firm and perky. Before you panic, take a breath—drooping leaves are one of the most common signs something is off, but the good news is, it’s often reversible with a little attention. In this guide, we’ll explore why plant leaves droop, what it means in different contexts, and how to correct the issue to bring your green friends back to life. Whether you’re a houseplant newbie or a seasoned indoor gardener, you’ll find plenty of useful insights. Common Causes of Drooping Leaves 1. Underwatering This is perhaps the most frequent reason behind drooping leaves. If your plant isn’t getting enough water, its internal pressure (called turgor pressure) drops, causing the leaves and stems to wilt or sag. This naturally happens as a survival mechanism to reduce water loss. Signs of underwatering include: What to do: Water your plant deeply, allowing water to run out of the drainage holes. Then, create a regular watering routine based on your plant type and environment. 2. Overwatering Ironically, too much water can also cause drooping. When roots sit in soggy soil, they can’t breathe, and root rot sets in. As roots die, they cannot transport water to the leaves, causing droopiness that mimics underwatering—but has very different causes and treatments. Signs of overwatering include: What to do: If you suspect overwatering, stop watering immediately, and let the soil dry out. If root rot is present, repot the plant in fresh, dry soil, trimming away any damaged roots. 3. Heat and Light Stress Plants can droop when exposed to excessive sunlight or heat. The intense light can scorch leaves and dry out the soil too quickly, while high ambient temperature causes rapid water loss through transpiration. This is especially common for plants placed directly on sunny windowsills or near heat sources like radiators or heating vents. Tips to prevent light or heat stress: 4. Transplant Shock Recently repotted your plant? Sudden changes in soil composition, container size, or root disturbance can trigger drooping. The plant is adjusting to its new environment and might need time to recover. Tips to help your plant recover: 5. Pest Infestation Some pests like spider mites, aphids, or mealybugs feed on sap and damage leaf tissues, which can cause drooping, deformation, or discoloration. Pests are often tiny and hide under leaves and in soil, so inspect your plant carefully. Look for: What to do: Use insecticidal soap, neem oil, or wipe down leaves with diluted rubbing alcohol. Isolate the plant to prevent the pests from spreading. Environmental and Seasonal Changes Humidity Levels Many indoor plants, especially tropical varieties like calatheas, ferns, and peace lilies, thrive in high humidity environments. When indoor air gets dry—especially during winter heating season—plants may droop as a stress response. Helpful solutions: Circadian Rhythms and Natural Response Some drooping is completely normal. Certain plants, like prayer plants (Maranta leuconeura) or oxalis, move their leaves to follow light or fold them closed at night. If you notice routine drooping that corrects itself every day, your plant is just following its natural rhythm. Best Practices to Prevent Droopy Leaves Know Your Plant’s Specific Needs Different plants require different conditions. A succulent won’t like the same environment as a fern. Research your plant’s ideal: The more you understand your plant’s natural habitat, the easier it is to replicate the right conditions indoors. Establish a Sensible Watering Routine Instead of watering on a fixed calendar, use the finger test or a moisture meter to check soil before watering. Letting the top inch or two of soil dry out (depending on the plant) is often better than blindly adding water. Use the Right Pot and Soil Ensure your pot has proper drainage holes to avoid water buildup. Use soil that’s appropriate for your plant type—succulents need sandy, fast-draining soil, while tropicals enjoy richer, moisture-retaining mixes. Monitor Light and Temperature Try to provide stable conditions for your plants. Sudden temperature changes or being too close to drafts or heat sources can stress plants. If you need to move a plant, do it gradually to avoid shocking it. Inspect Regularly Make plant check-ins a regular habit. Look under leaves and around the base for signs of pests or disease. Catching issues early goes a long way toward keeping foliage happy and healthy. Conclusion: Support Your Plant Back to Health Seeing drooping leaves can be alarming, but it’s your plant’s way of communicating with you. The key is to observe carefully, understand the signs, and respond with the correct care. Whether it’s correcting your watering habits, adjusting environmental conditions, or addressing pests, there’s usually a straightforward solution waiting to restore your plant’s perkiness. With a little attention and a lot of love, your plants will thank you by bouncing back greener and more vibrant than ever. Helpful Reminder: Keep growing, keep learning, and enjoy the peaceful presence that happy, healthy plants bring to your home. References
Understanding Dropping Leaves: What Your Plant Is Trying to Tell You Read More »