
How to Plan Safe, Profitable Zones in a Play Café
Opening a play café looks simple from the outside. Many people picture ...
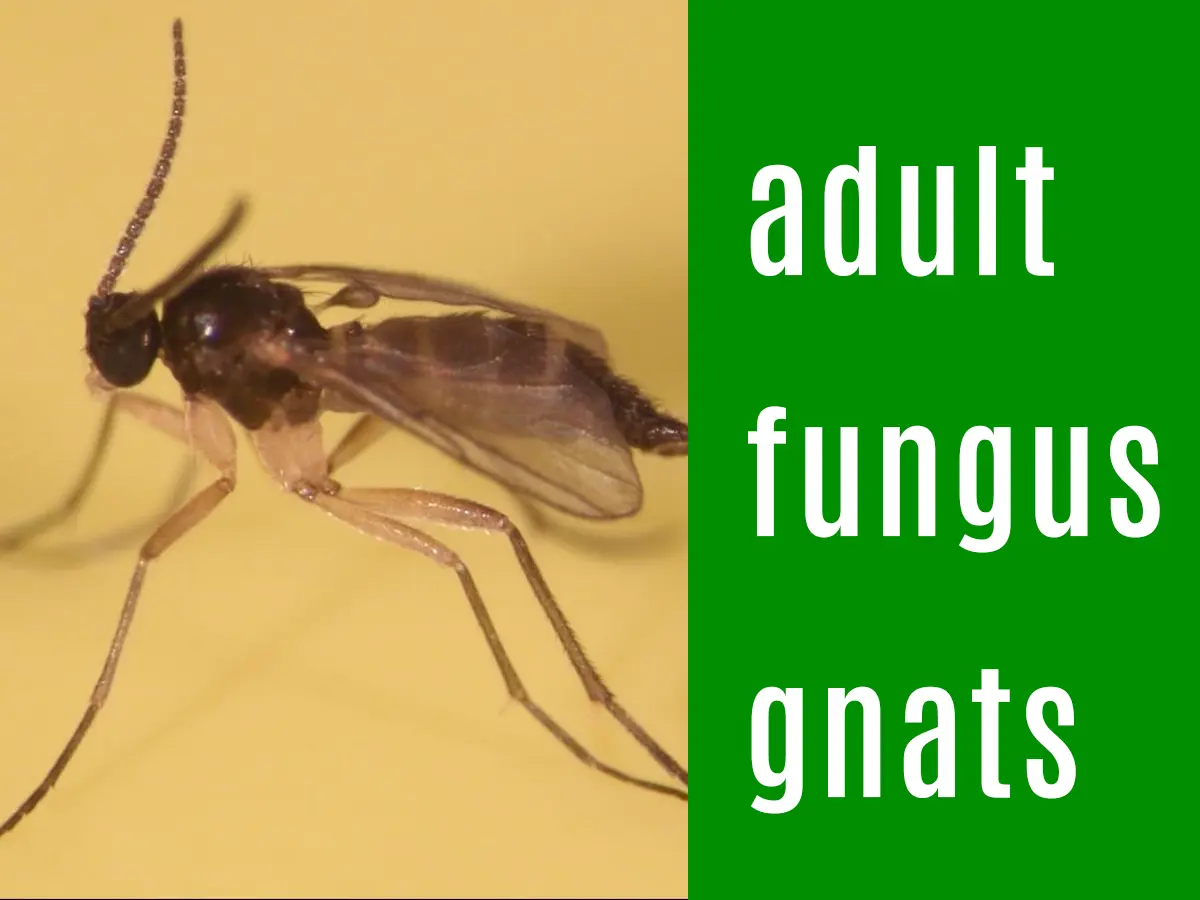
How to Deal With Fungus Gnats (A Practical, Step-by-Step Tutorial)
Fungus gnats are tiny, dark, mosquito-like flies that hover around houseplants and ...
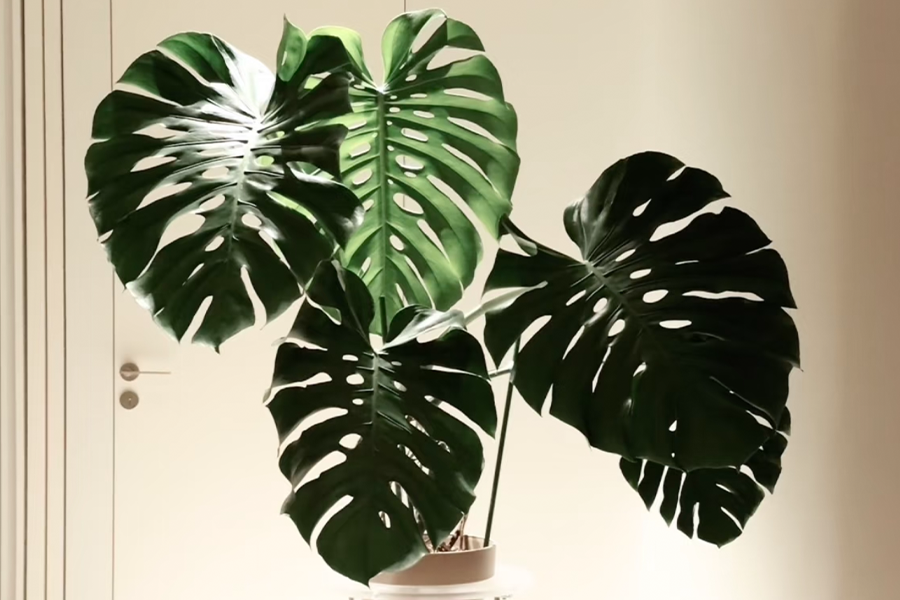
Is Monstera deliciosa the Profitable to Grow and Sell for Consistent Demand?
Growing plants for sale can look profitable on paper—until slow turnover, pests, ...
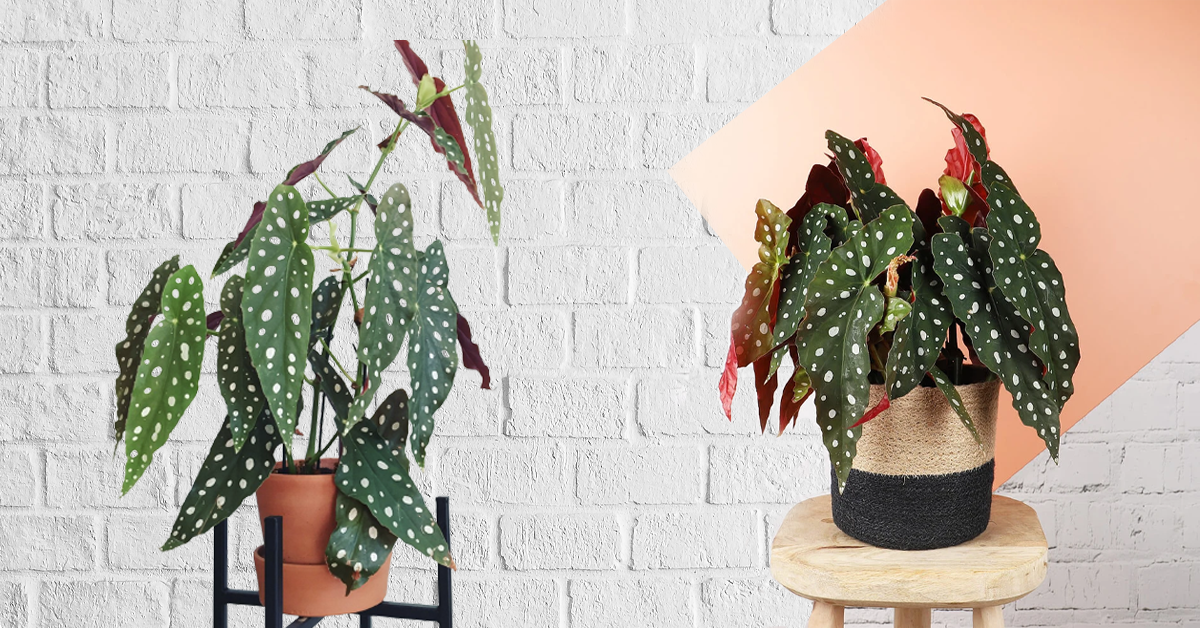
How to Care for Begonia maculata: Keep Polka-Dot Leaves Crisp Without Crispy Edges or Rot?
Brown tips, droopy “angel wings,” and sudden leaf drop usually come from ...
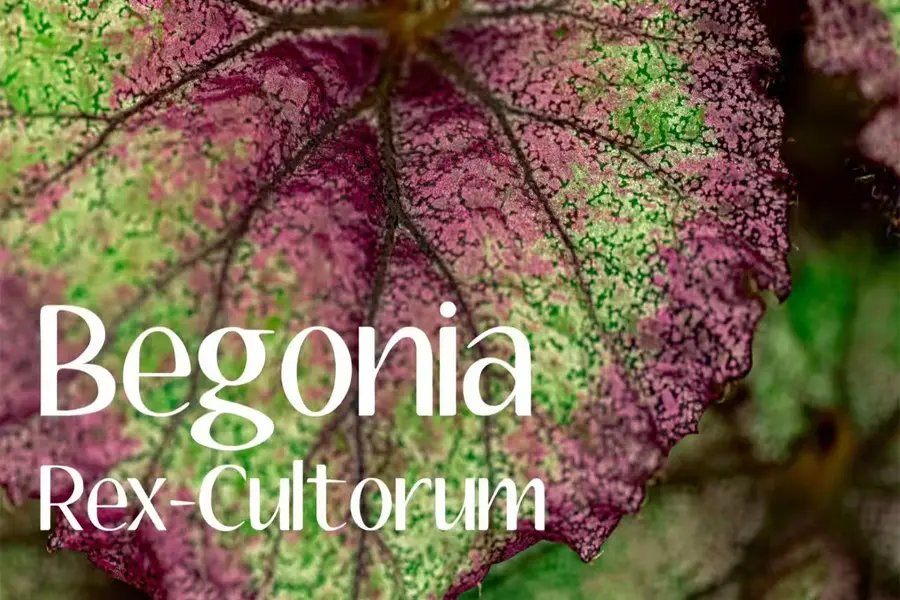
How to Care for Begonia Rex: Brighter Leaves, Less Rot, Fewer Brown Edges?
Rex begonias look unstoppable—until leaves crisp, colours fade, or the crown collapses. ...
5 Profitable Plants to Grow and Sell For Beginners(Without a Greenhouse)
Low margins usually come from slow growth, high loss rates, and plants ...

Floral Anatomy and Reproductive Morphology: The Ultimate Botanical Guide
The Peak of Evolution: Deciphering the Biological Masterpiece of Flowers In the ...
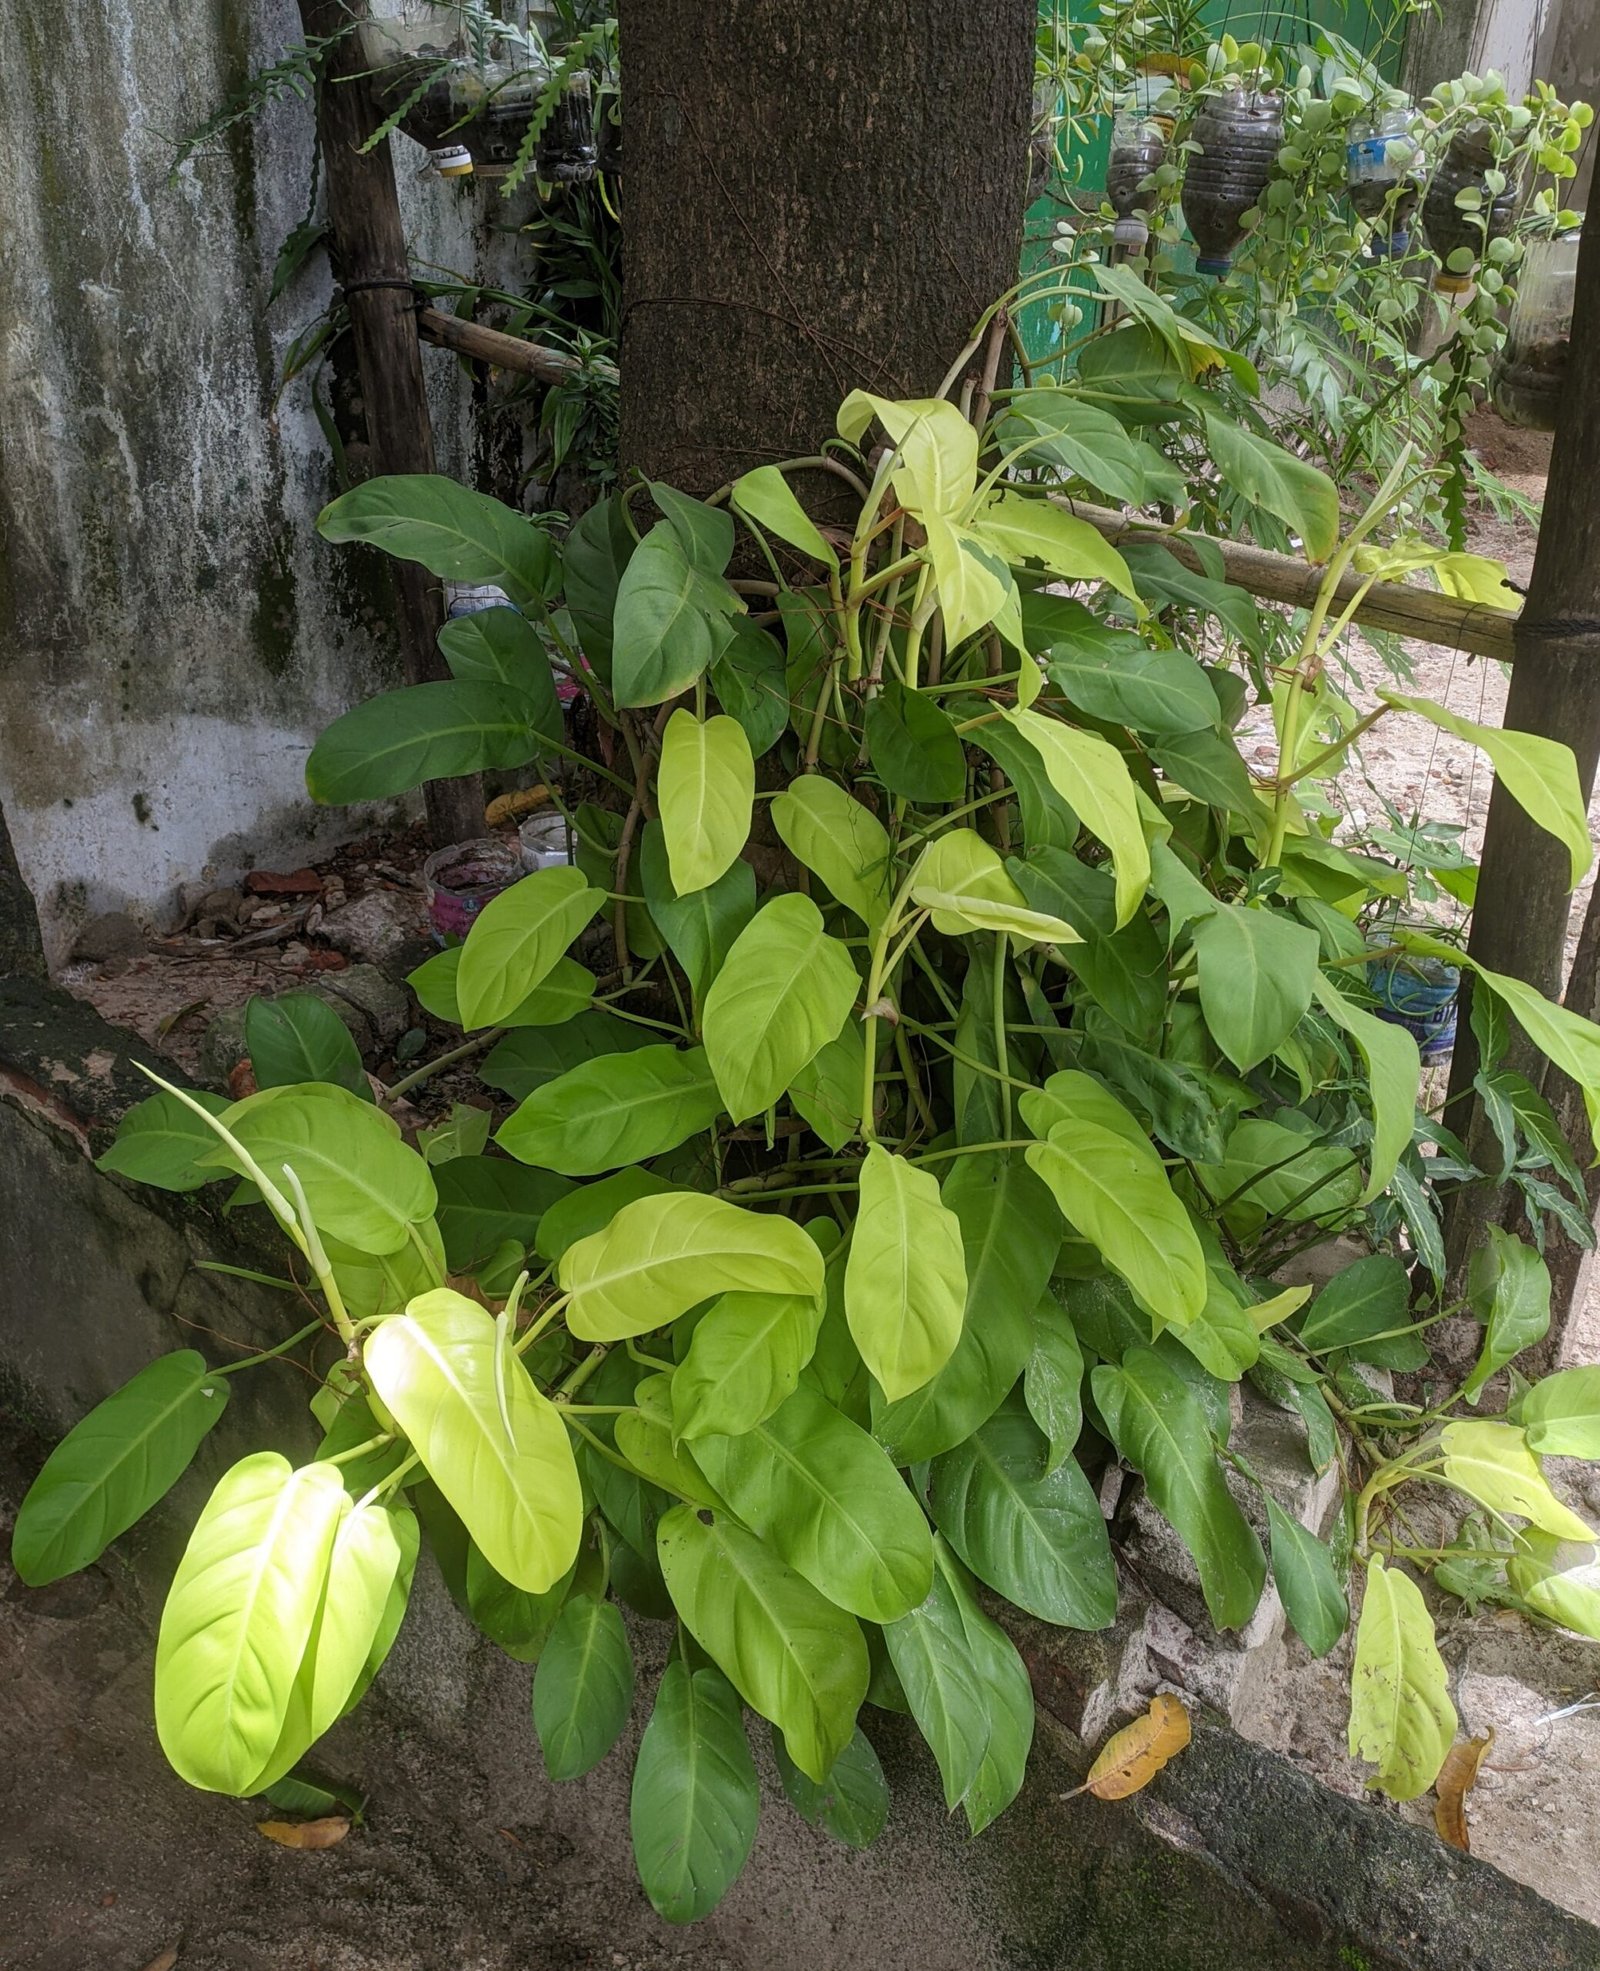
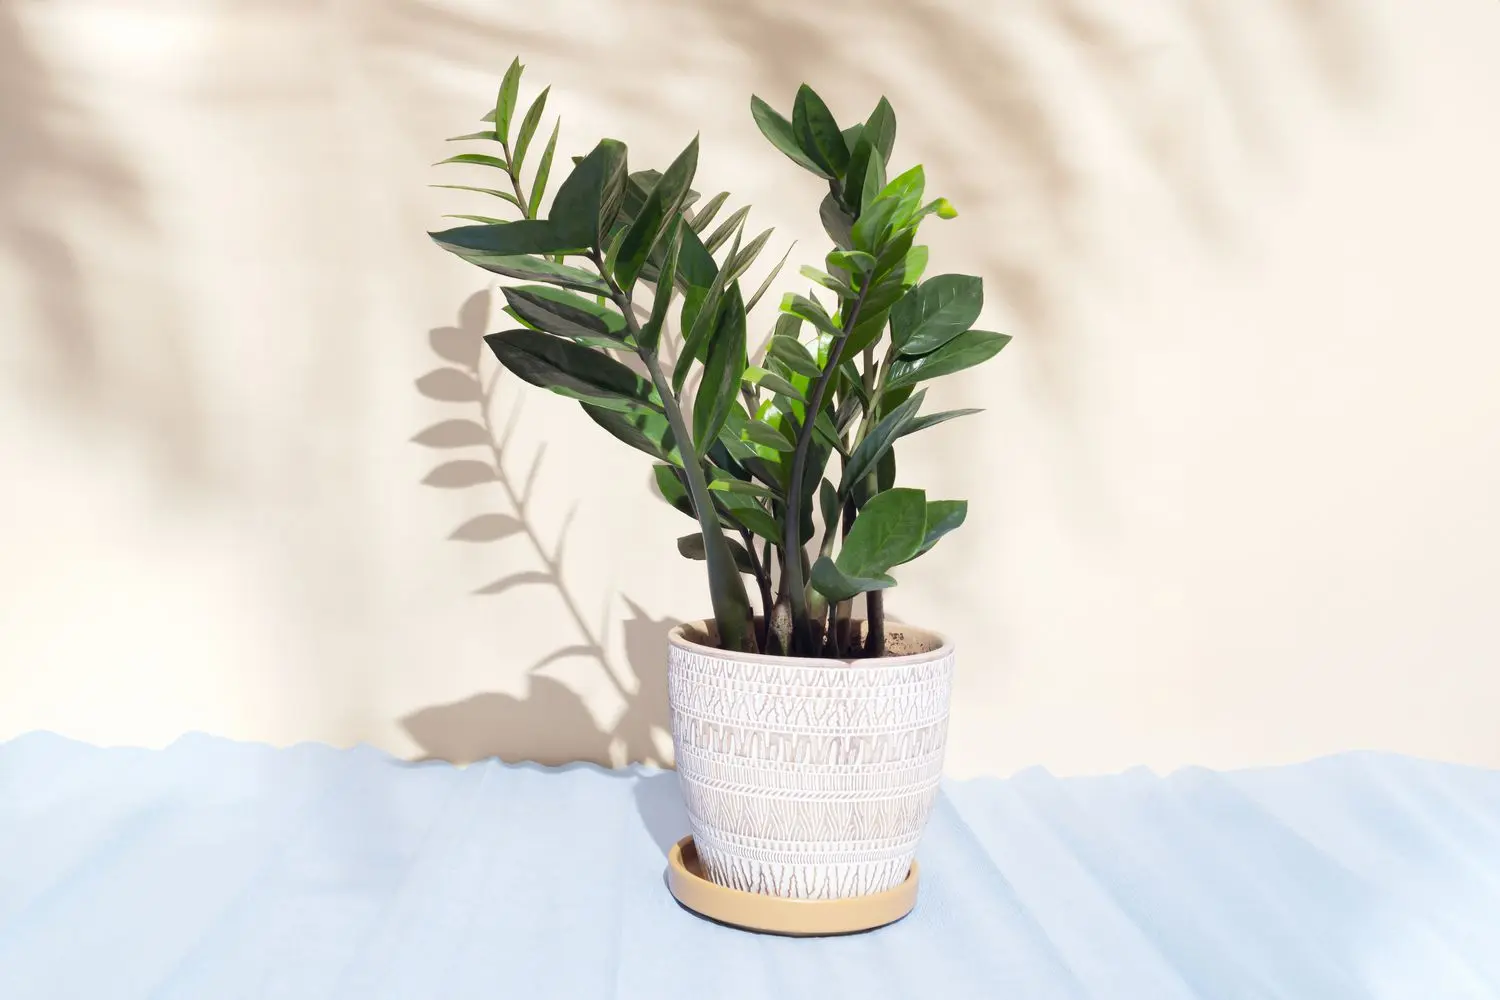
How to Care for a Lemon Lime Philodendron: Brighter Leaves, Longer Vines, and Fewer Mistakes?
Yellowing leaves, limp vines, and “mystery” root rot usually come from one ...
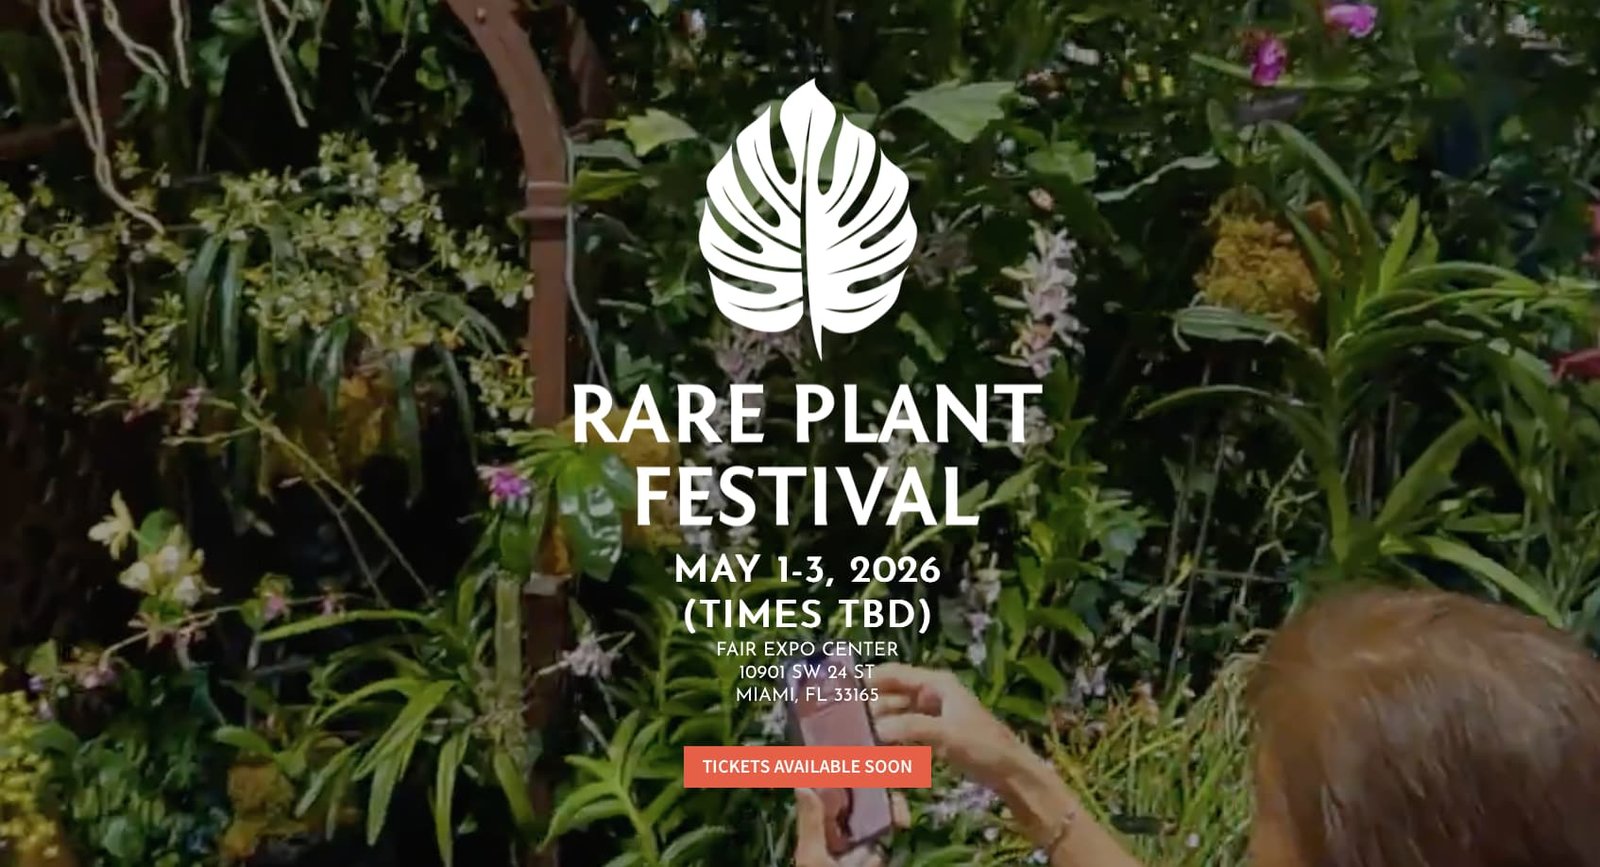
Rare Plant Festival 2026 (Miami) : the right show for orchid and aroid collectors
Big plant events can be loud, costly, and disappointing when the stock ...